 Dance AI Video
How to prepare photos for an AI dance video
Choose photos that work with the template, check consent, and avoid common upload mistakes.
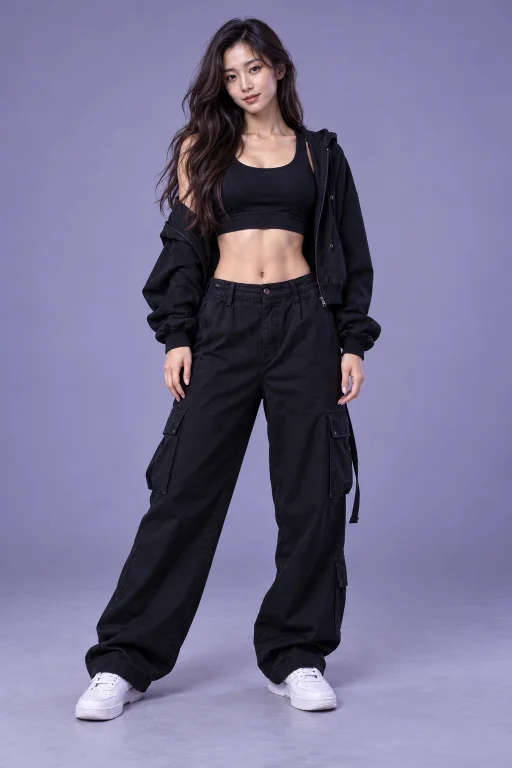
A good source photo gives an AI dance generator a clearer starting point. It cannot guarantee an exact likeness or perfect motion, but it can reduce avoidable problems. Begin with the requirements on the template detail page, because a solo template and a two-person template do not accept the same inputs.
Start with permission
For human dance templates, use photos of adults who have agreed to this use. Having a copy of a photograph does not necessarily give you permission to animate the person in it. Consider where you plan to share the result and make that clear to the person whose image you use. Do not use a generated clip to suggest someone performed a real action or endorsed a product. For a pet dance, use a pet photo you own or have permission to use.
Do not upload identity documents, sensitive images, or unrelated private information. A dance template needs a suitable subject photo, not additional proof of identity. If you need help with a rejected image, describe the error to support rather than emailing extra personal photographs.
Match the photo to the template
Read the required photo count before selecting files. The A2O LITE NEON template uses two adult photos; the other human dance templates use one. Parrot Dance AI uses one pet photo for the front leader. A preview with several people is not evidence that its page accepts multiple uploads. Follow the role labels to see which performer your photo replaces.
Choose a subject who is easy to distinguish from the background. A clear, evenly lit image is more useful than a heavily filtered screenshot. Avoid dark faces, strong glare, blurred movement, large overlays, or objects covering facial features. If a template gives more specific framing guidance, follow that guidance first. Cropping and framing can affect how much information the model has about the person.
For a two-photo template, prepare both images before starting. Check that each file shows the intended person and that the photo order matches the labels in the creator. Do not assume the system will identify who should occupy each position from the filenames.
Sign in before uploading
The photo picker and drop area require an authenticated account. Sign in first, then check the accepted file types and size limits displayed by the uploader. Wait for image decoding and photo checks to finish before moving on. A selected thumbnail alone does not mean the image has passed every check.
If an upload is rejected, read the visible reason and replace the file. Repeatedly choosing the same unsupported file will not fix its format or size. Keep the page open until its upload checks complete; a slow connection can take longer than a local file preview suggests. For a persistent problem, record the template and error message and visit the Help center.
Review the quote before generating
Each enabled template shows its own output settings and current credit quote. Photo preparation does not change those settings. A landscape output remains landscape even though its gallery card uses a portrait frame. Music in a sample may have been added separately, so read the audio note as well.
Generate once, then track that task in My videos. If the submission is uncertain, inspect the existing task before trying again. A new submission is a separate task and may cost credits. Review the completed clip for altered facial features, hands, clothing, and movement before sharing it. Keep a downloaded copy and use only music you are allowed to publish.